
Using the OLED Display
How to read and operate the OLED display on the C64/C128/FDD Ultimate power supply: the seven screens, what the three touch buttons do, and how to adjust the output voltage.
August 13, 2026
The Ultimate power supply carries a small OLED display and three touch-sensitive buttons on its front panel. Everything the supply can tell you, and everything you can adjust on it, goes through those four things.
This page is the operating guide: what each screen shows, what each button does, and — importantly — what happens when you change a setting.
The three buttons are touch sensors, not switches. They do not click and they do not move. The supply beeps the moment a touch registers, and that beep is your confirmation that it took.
The three buttons
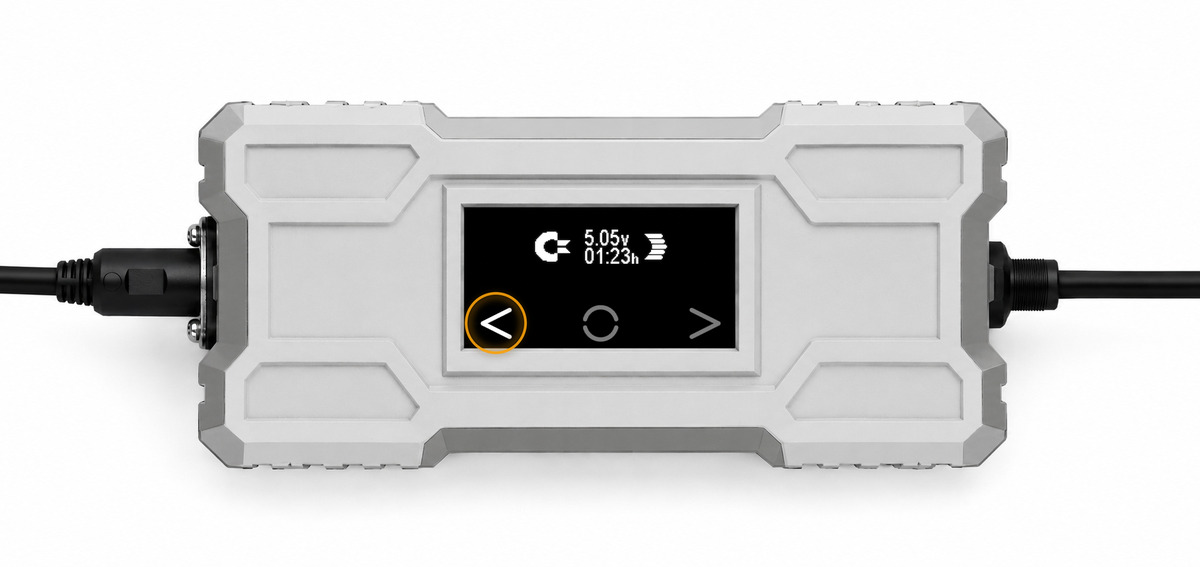
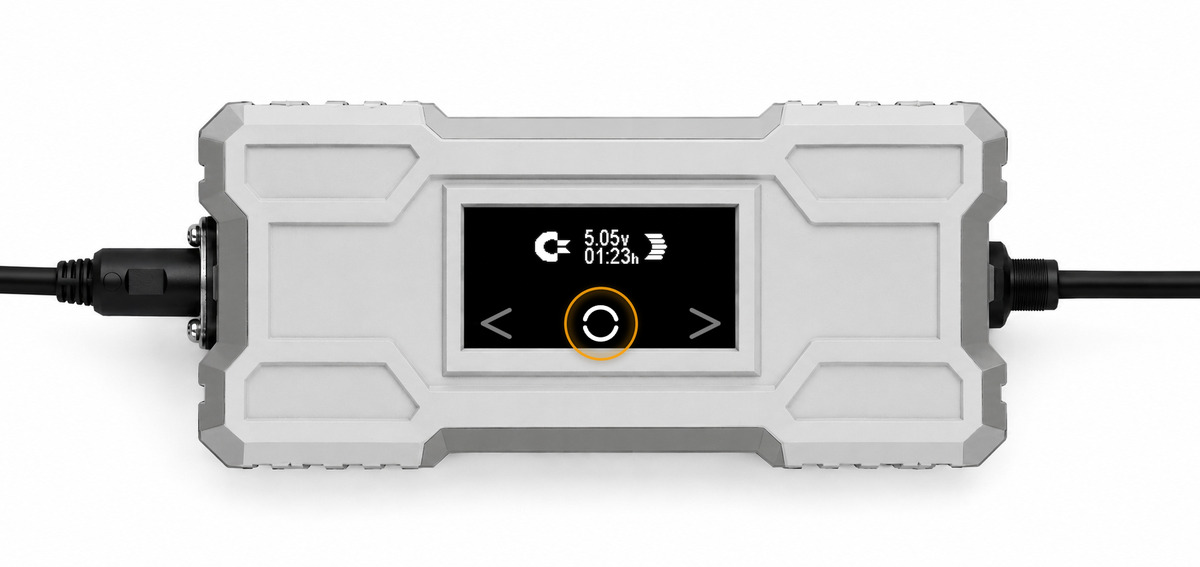
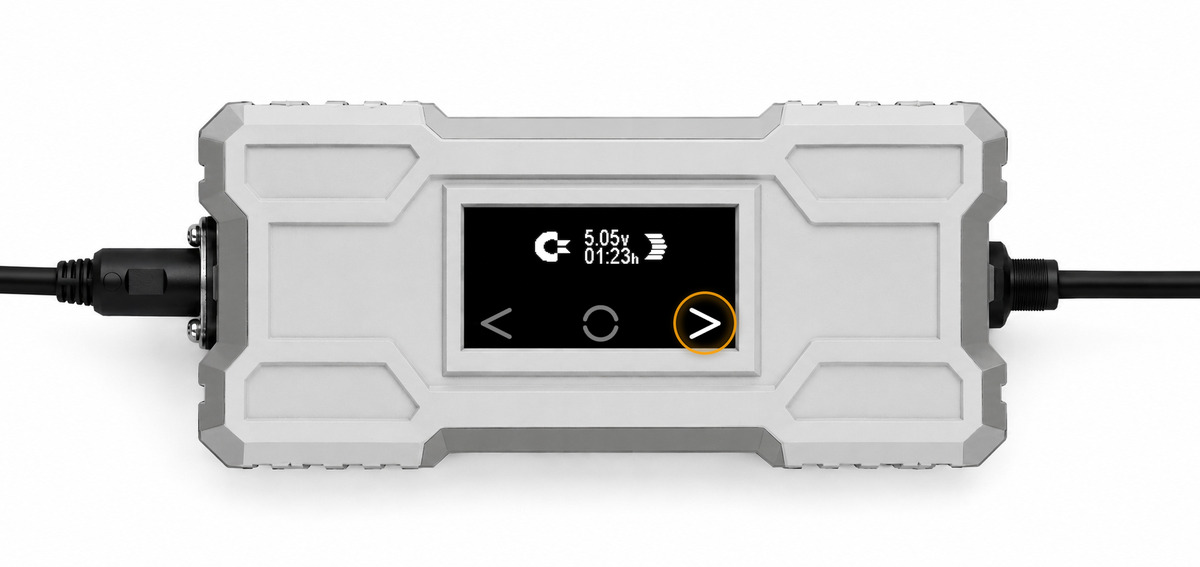
Throughout this guide, the button being pressed is marked with an amber ring.
What matters as much as which button is how long you hold it. The supply sorts every touch into three classes:
| Hold for | Class | What it is used for |
|---|---|---|
| Under 3 seconds | short | moving between screens, changing a value |
| 3 seconds or more | long | entering a setting, saving it |
The seven screens
A short touch on right moves to the next screen, a short touch on left moves back, and the list wraps around in both directions. A short touch on centre jumps straight to the main screen from anywhere.
Blank → Logo → Main → Voltage → Temperature → Frequency → Time → (back to Blank)
Blank
The display is off. Nothing is wrong — this is a normal position in the list, for anyone who would rather the supply were not glowing on the desk.
Logo
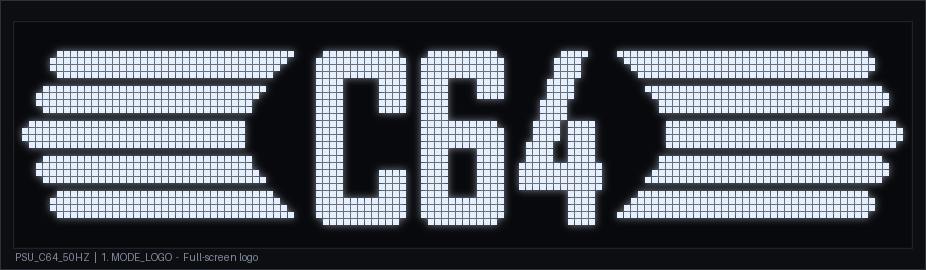
The logo of the machine the supply is configured for.
Main
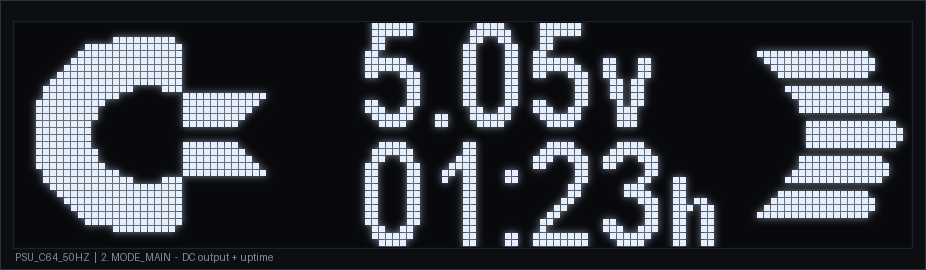
The working screen, and where the supply starts every time it is switched on. It shows the DC output voltage and how long the current session has been running.
This is the screen to leave it on. A glance tells you the rail is where it should be — which, on a machine with no internal regulator, is the single most useful thing to know.
Voltage
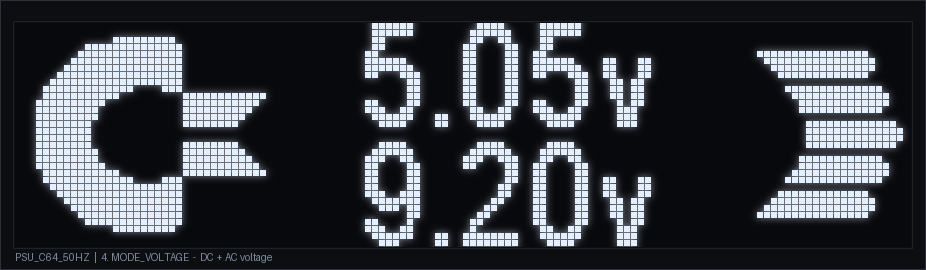
Both rails at once: the DC voltage and the AC voltage.
Temperature
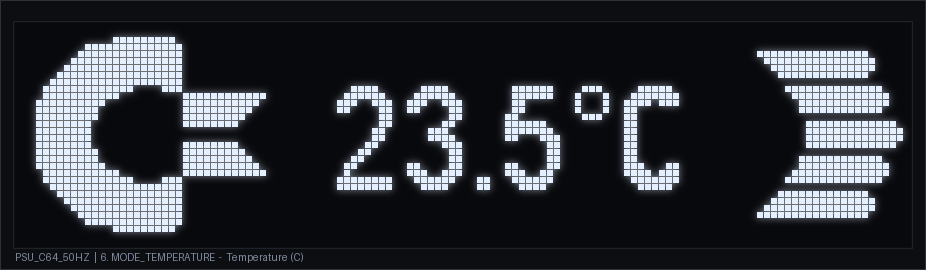
The supply's own internal temperature, in °C or °F depending on how it is configured.
Frequency
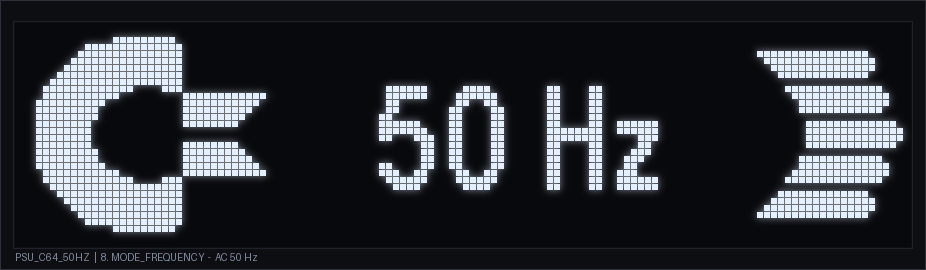
The AC frequency the supply is producing — 50 Hz or 60 Hz.
This is not cosmetic. Commodore machines count mains cycles to drive their Time-of-Day clocks, so software that uses that clock will keep time correctly only when the frequency matches what it expects. There is more on why in Volts, amps and 9V AC explained.
Time
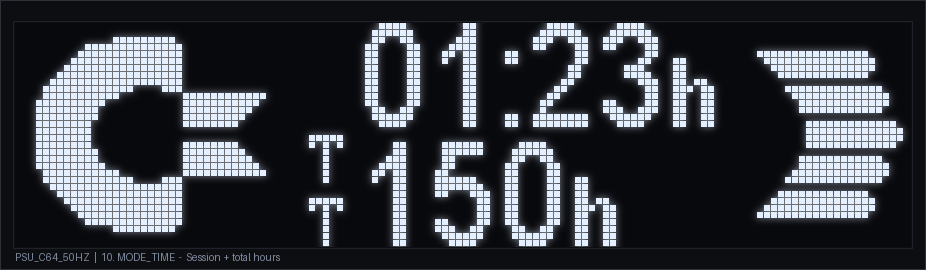
Two figures: how long this session has run, and the total hours the supply has ever run.
Adjusting a setting
Four of the screens can be edited. Hold centre for about three seconds on one of them and the matching setting screen opens:
| From this screen | You can set |
|---|---|
| Main | the 5V DC output |
| Voltage | the 9V AC output |
| Temperature | °C or °F |
| Frequency | 50 Hz or 60 Hz |
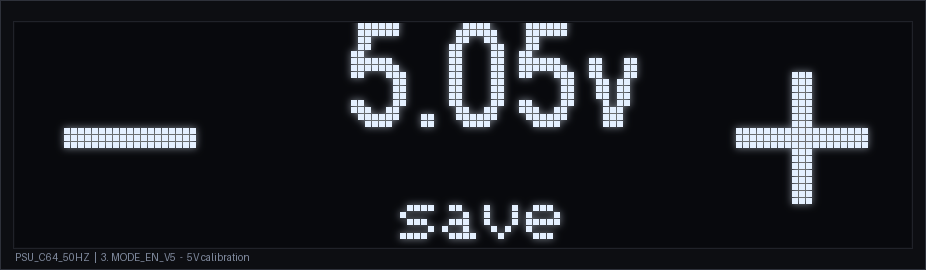
The word save printed on these screens is a reminder of how to leave them: hold centre again to apply, write the value to memory, and return to the screen you came from. The supply beeps when it saves.
Inside a setting screen, short touches on left and right no longer move between screens — they change the value.
There is no cancel. This is the one thing worth reading twice. The voltage changes as you press, not when you save — the output moves with every touch, before any confirmation. Temperature units and frequency are written to memory the instant you switch them. There is no button that backs out and leaves things as they were, so if you are adjusting the 5V rail, do it with the computer disconnected and a meter on the output.
Holding centre on the other three screens — Blank, Logo, Time — does nothing. They have no settings.
Things worth knowing
It always starts on the Main screen. Whichever screen you left it on, the supply comes up on Main. That is deliberate, not a fault.
The startup sequence is about a second. Full-screen logo, then a brief TOUCH SENSOR TO TOGGLE SCREEN hint, then Main.
The beep is the touch confirmation. Every registered touch beeps, and saving produces its own separate beep.
Related reading
- Original vs modern power supply — why a visible voltage reading matters
- My Commodore 64 will not turn on — using the reading to diagnose
- Volts, amps and 9V AC explained
- C64/C128/FDD Ultimate power supply
The screens shown here are the C64 50 Hz configuration; the C128 and 60 Hz versions differ only in the logo, the frequency and the temperature units. Readings in the illustrations are examples, not measurements from any particular unit.